How to Play Red Ball 4 Level 57 — Full Guide & Tips
Red Ball 4 is one of those platformers that hooks you from the very first jump. Whether you're stuck figuring out how to play Red Ball 4 Level 57 or just starting fresh and already hitting walls on early stages, this guide walks you through everything — from the opening levels right through to the brutal late-game challenges. We'll cover specific level walkthroughs, star locations, enemy strategies, and the general technique that separates clean runs from frustrating death loops.
Red Ball 4 Overview — What Makes It Special
Red Ball 4 (developed by FDG Entertainment) is a physics-based 2D platformer where you control a cheerful red ball navigating a world under threat from square-shaped machines trying to "squarify" everything round. The premise sounds goofy, but the gameplay gets genuinely demanding as you progress, combining tight platforming with environmental puzzles in ways that keep you thinking every level.
The game is divided into several themed worlds, each with its own visual style and 15 levels. Every world wraps up with a boss encounter — usually a large mechanical square you need to hit multiple times by landing on it from above. Movement is simple on paper: roll left and right, jump, stomp enemies. But the physics layer on top of everything makes it feel much richer. The ball actually rolls — it gains and loses momentum on slopes, tips sideways off the edges of platforms, and carries speed from ramps into jumps. That physical behavior is at the heart of every level design decision in the game.
Stars are the secondary goal in each level. Three stars are hidden in every stage, usually in spots that require you to deviate from the obvious path. Collecting all three is the real measure of mastery, and a lot of them are deliberately placed to punish rushing. The game doesn't explicitly block you from finishing levels with 0 stars, but going back to replay them later from scratch is always more annoying than grabbing them on your first run.
What keeps Red Ball 4 engaging long into the later worlds is how it combines the familiar (jump on enemy heads, reach the flag) with genuine mechanical challenges. By World 3 and beyond, you're dealing with timed collapses, darkness mechanics, conveyor belt physics, and enemies clustered in positions that require more thought than just stomping them.
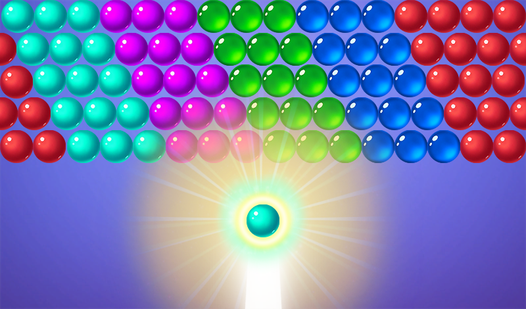
If you enjoy puzzle games with a satisfying tactical loop, Bubble Shooter: Colored Bubbles scratches a similar itch — you're constantly reading the board, planning a sequence, and executing under mild pressure.
Bubble Shooter: Colored bubbles
Aim and pop vibrant spheres by matching three or more of the same color to clear the board in this addictive bubble shooter. You must carefully calcul...
▶ Play FreeHow to Beat Early Levels (1-15) — Including How to Play Red Ball 4 Level 9
The first 15 levels are a tutorial in pacing and feel, though several will catch you off guard even on a first playthrough.
Levels 1-5 are almost entirely about learning the controls and enemy interactions. The single most important rule you'll learn here: you cannot kill enemies by touching them from the side. You have to land on them from above — think of it like stomping in Mario. Rolling into a guard from the side will just bounce you away, often into a spike or a pit. Get this into muscle memory early, because every single enemy encounter in the game follows this rule.
Levels 6-10 introduce moving platforms, water hazards, and your first experience with switches and gates. Level 9 specifically is where a lot of players stall. The challenge is a timed gate over a moving platform section, and the combination creates a rhythm you have to learn.
Here's how to play Red Ball 4 Level 9 cleanly:
- Wait for each moving platform to reach its closest position to you before jumping. Don't try to make distance jumps onto platforms mid-travel.
- The gate in the central section is triggered by a pressure switch on the floor. Roll onto it, but don't stop — keep your momentum going through the gate immediately. If you hit the switch and hesitate, the gate closes before you clear it.
- Before finishing the level, roll backward from the flag area along the right wall. There's a star tucked behind a solid-looking section that has a gap. It's easy to miss on a first pass.
Levels 11-15 bring slopes, more varied enemy patrol routes, and basic physics puzzles using boxes and barrels. Levels 13 and 14 require you to push boxes into position as makeshift steps to reach elevated stars. One common mistake here: players push boxes in the wrong direction and then can't retrieve them. Always check where a box needs to go before committing to a push.
Yellow Ball 4 plays like a direct cousin to Red Ball 4 — same genre feel, fresh level design, and a great option when you've cleared an area and want to keep the platforming momentum going.

Yellow Ball 4
Navigate your bouncy hero through vibrant landscapes and dodge tricky obstacles in Yellow Ball 4. You will roll, jump, and weave past square enemies w...
▶ Play FreeHow to Beat Mid Levels (30-50)
By the time you're in the 30-50 range, Red Ball 4 has shown you almost every mechanic it has. The mid-game is about combining those mechanics in increasingly complex patterns.
Levels 30-35 are set in the Factory world, which runs on conveyor belts and industrial traps. Conveyor belts accelerate you in the direction they run, so a belt pointing right will launch you forward if you roll with it. Use this deliberately — there are jumps in the Factory world that are only reachable by using conveyor momentum as a speed boost going into a jump. Rolling against a belt slows you, which is useful for controlling descent on elevated sections.
Levels 36-42 are where the first real difficulty spike hits. Enemy clusters start appearing, with guards positioned precisely at the landing spots of jumps. You can't always stomp them cleanly without positioning yourself perfectly. The smarter play in most of these levels: look for environmental kills. Boxes roll into enemies. Weighted platforms can be triggered to drop. Some guards can be herded toward pit edges if you approach, then retreat. Letting the environment do the work keeps your lives intact.
Levels 43-50 introduce visibility reduction in a few stages — sections where the screen goes dark and you're navigating by memory and inference. The first time this happens, slow down completely. Most players run into a pit they couldn't see coming because they assumed the level layout would be predictable. In the dark sections, treat every step as potentially the last piece of ground before a drop. Once you've mapped the layout mentally, then you can move at pace.
Star hunting in the mid-game almost always involves hidden switches. If you've found two stars in a level and can't locate the third, your first assumption should be that there's a switch you haven't activated. Look for pressure plates on the ground, buttons on walls, and physics objects that seem positioned to be knocked into something.
3D Balls: Merge brings that same "figure out the system, then execute" logic that drives the better mid-game Red Ball levels — good for a brain reset between sessions.
3D Balls: Merge
Merging shapes is the ultimate casual stress-buster that keeps your brain sharp while your hands stay busy. 3D Balls: Merge takes this satisfying mech...
▶ Play FreeHow to Beat Hard Levels (50-75) — How to Play Red Ball 4 Level 57 and Level 59
This is where the game separates completionists from casual players. Levels 57 and 59 have genuine reputations for being difficult, and for specific, learnable reasons.
How to Play Red Ball 4 Level 57
Level 57 sits in the Forest of Doom world and runs three distinct phases before the flag.
Phase 1 — The Collapsing Platform Gauntlet
The opening section has three clusters of collapsing platforms suspended over a pit. These platforms start dropping roughly 1.5 seconds after you land on them. The failure mode for most players is landing and briefly pausing to assess the next jump — that pause is exactly how long it takes for the platform to drop.
The correct approach: build momentum rolling into this section, land on the first platform, and commit to the next jump immediately. It's almost rhythmic — land, jump, land, jump. If you find yourself thinking too much between platforms, you've already fallen. Practice the rhythm on the first cluster until it feels automatic, then carry that cadence through the rest.
Phase 2 — The Spike Corridor
After the platforms, there's a low corridor with spikes on the ceiling that move in a wave pattern — sections lower at different times, creating a moving safe window. Watch one full cycle without moving before you commit. The pattern is consistent and repeatable. Once you've clocked when each section rises and falls, roll through in one continuous motion during the widest safe window. Do not stop in the corridor — there's no safe stationary spot.
Phase 3 — The Enemy Cluster
The final third has three square enemies spread across ledges. Don't try to stomp all three sequentially — it's risky and the positions don't set up cleanly for that. Look for the box to the left of the first enemy cluster. Push it to the right, and its rolling momentum will take out the first two enemies. The third enemy is positioned near a ledge drop — approach to draw its attention, then back off. Its patrol route walks it off the edge on its own.
Star Locations in Level 57:
- Star 1 — Above the second collapsing platform group. Instead of jumping forward to the third group, jump backward and upward on your second platform. The star is on an elevated shelf.
- Star 2 — Locked inside a sealed chamber in the spike corridor section. There's a pressure switch on the floor just before the corridor entrance. Hit it while moving — the chamber opens briefly and you'll need to grab the star on your way through.
- Star 3 — On a high ledge at the very end of the level. After clearing the third enemy, stomp the last remaining guard at full jump height and immediately jump again at the peak. The ledge is above and slightly right.
How to Play Red Ball 4 Level 59
Level 59 is the final stage before the World 4 boss, and it throws water physics and a descending crusher at you in quick succession.
The first half of level 59 is a barrel crossing over a wide water gap. The barrels sway and tip based on where you land on them — hit the edge of a barrel and it tips, dropping you into the water instantly. Always roll to the center of each barrel before jumping to the next. Take one barrel at a time. There's no time pressure in this section, so rushing just creates unnecessary risk.
The second half is a vertical climb while a mechanical crusher descends from above. The crusher is slow enough that panic isn't necessary, but it does punish backtracking. Plan your star collection going up — the stars in this section are arranged in a rough upward path, so grabbing them in sequence on the ascent is much cleaner than trying to retrieve them while the crusher is closing in.
If you make it to the World 4 boss: its attack pattern has a charge phase that ends when it hits a wall and briefly stuns itself. That stun window is your attack opportunity. Three clean hits win the fight.
Color The Red Ball is a fitting break after grinding levels 57 and 59 — same visual energy, much lower stakes, good for decompressing.
Color The Red Ball
Creative minds will adore Color The Red Ball because it turns a simple coloring book experience into a delightful digital adventure. Players select th...
▶ Play FreeGeneral Tips and Tricks for Red Ball 4
These techniques apply across the whole game and will sharpen your runs at every stage.
1. Use the Roll-Jump The most important advanced technique: roll down a slope and jump at the bottom. The ball carries slope momentum into the air, giving you significantly more horizontal distance than a flat jump. Almost every wide gap in the game is designed around this mechanic.
2. Time Stomps at Descent Landing on enemies works most reliably when you're at the peak of your descent — falling, not rising. Trying to stomp while still moving upward often clips the side of the enemy hitbox instead and bounces you away. Set up each stomp so you're clearly falling onto the target.
3. Check Star Count Before Finishing The game displays your star count (e.g., 2/3) on screen. Before crossing the flag, always check. If you're short a star and you finish the level, you have to restart from scratch. Taking 20 seconds to backtrack and find the missing star saves a full replay.
4. Watch Bosses for One Full Cycle First Every boss in Red Ball 4 has a looping attack pattern of two or three moves. Watch one complete cycle before attacking. After that, the timing becomes predictable and the fights are straightforward. Rushing a boss blind usually means dying to an attack you could have anticipated.
5. Respect the World Theme Physics Each world modifies movement in subtle ways. Underwater sections slow your horizontal roll but increase jump height. Factory levels have belts that affect your acceleration. Dark Forest stages reduce visibility. When you enter a new world, your first level should be exploratory — get a feel for how the physics have shifted before playing aggressively.
6. Environmental Kills Are Always Safer If you can knock a box into an enemy, trigger a trap above them, or herd them off a ledge, do it. Stomping is reliable when you have clear airspace above an enemy, but in tight spots, environmental kills remove risk entirely.
7. Build a Lives Buffer Before Hard Worlds Red Ball 4 gives limited continues. Finishing earlier worlds with strong performance (collecting stars, clean completions) often gives you extra lives. Going into the hard levels with a comfortable life total changes the psychological pressure considerably.
Ball Sort Puzzle: Color Tubes rewards the same "observe the full system before acting" instinct that makes Red Ball 4's harder levels manageable. Good companion game if you enjoy structured logic puzzles.
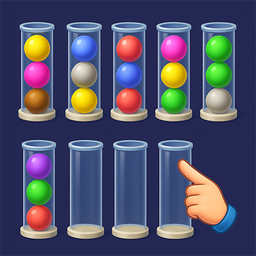
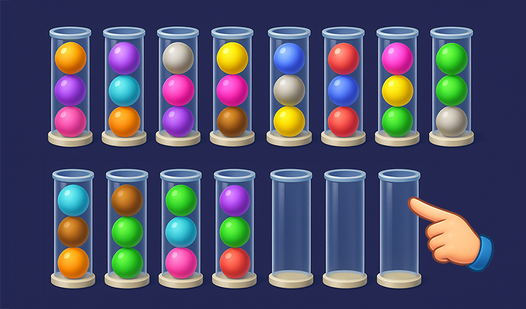
Ball Sort Puzzle: Color Tubes
Sorting colorful spheres into matching tubes requires sharp logic and a steady hand in Ball Sort Puzzle: Color Tubes. You tap to lift the top sphere a...
▶ Play FreeMore Games to Play After Red Ball 4
Finished Red Ball 4 and looking for the next challenge? These games share the same casual-but-engaging energy:
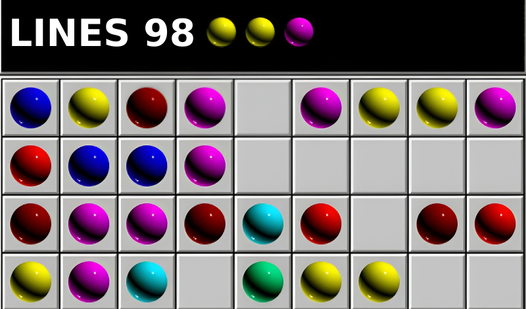
Lines 98
Strategic puzzle games often trick the brain into thinking they are simple until the grid starts filling up with chaotic patterns. Lines 98 turns this...
▶ Play Free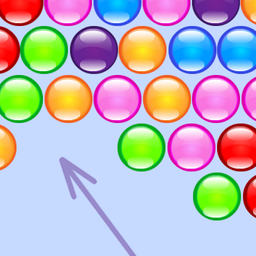
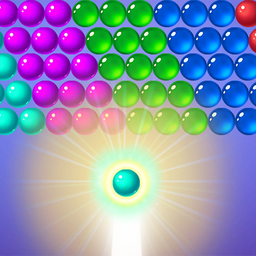
Bubble Hit
Classic bubble shooter games remain the ultimate test of patience and precision for anyone seeking a quick mental workout. Bubble Hit puts a refreshin...
▶ Play Free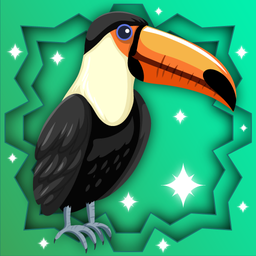
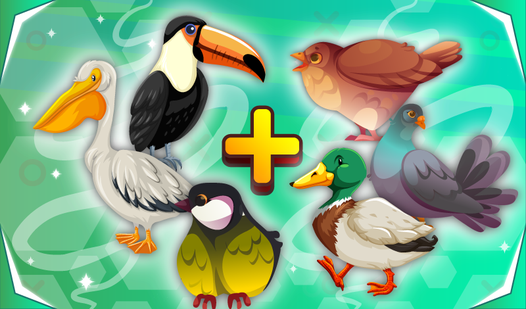
Merge the birds: Reach the eagle!
Matching pairs of creatures is oddly satisfying when you are trying to climb the evolutionary ladder of the avian world. Merge the birds: Reach the ea...
▶ Play Free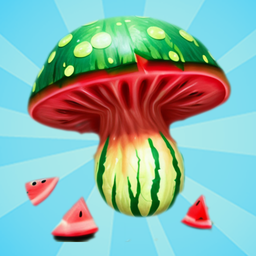
Mushroom picker - connect mushrooms!
Casual gamers looking for a relaxing escape will adore the charm of Mushroom picker - connect mushrooms!. This vibrant puzzle game challenges you to c...
▶ Play Free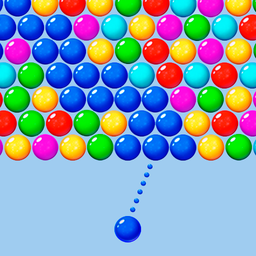
Bubble Shooter - Shoot and Burst!
Staring at a blank screen during a midday slump is the worst, but a quick round of Bubble Shooter - Shoot and Burst! turns that boredom into high-stak...
▶ Play Free
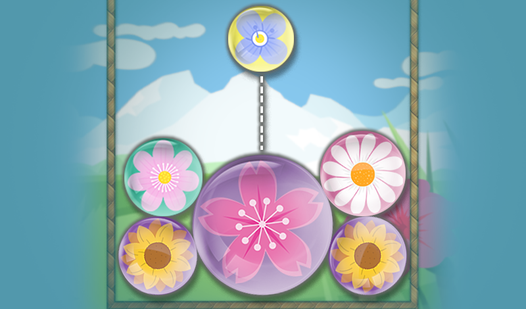
Merge the flower balls 2048
Drop vibrant spheres onto the playing field to fuse matching pairs and watch them evolve into beautiful flowers. Merge the flower balls 2048 challenge...
▶ Play Free